Practice Management on Embodia - Part 1: Charting - Starting a new patient chart
To start a new charting entry for a patient, visit their profile and then click on Charting > Chart entries.

Click on New entry and fill the form with:
- The chart date;
- An optional name for the chart entry;
- The template you want to use as a starting point for this entry;
- The visibility of the entry;
- Check that the consent has been obtained from the patient.
- For multi-practitioners clinic, you can also allow your colleagues to add to this chart entry.
A quick note on the entry visibility: If you opted to make the entry Visible to patient, you can still hide individual chart items within the chart entry so they won't be visible to the patient. For the patient to be able to see the entry, the following criteria need to be met:
- The chart entry needs to be signed
- The patient needs to log in to their account from the unique URL for your clinic. You can find more information in the setting a subdomain guide.
A quick note on allowing your colleagues to add to the chart entry: If you opted to allow your colleagues to add to the chart entry, they will be able to add new chart items to the chart entry if they are also connected to the patient. However, they will not be able to modify any chart items not added by them, and conversely, you will not be able to modify any chart items that they've added.
On the chart entry page, click on Add a chart item to add a chart item to the chart entry.

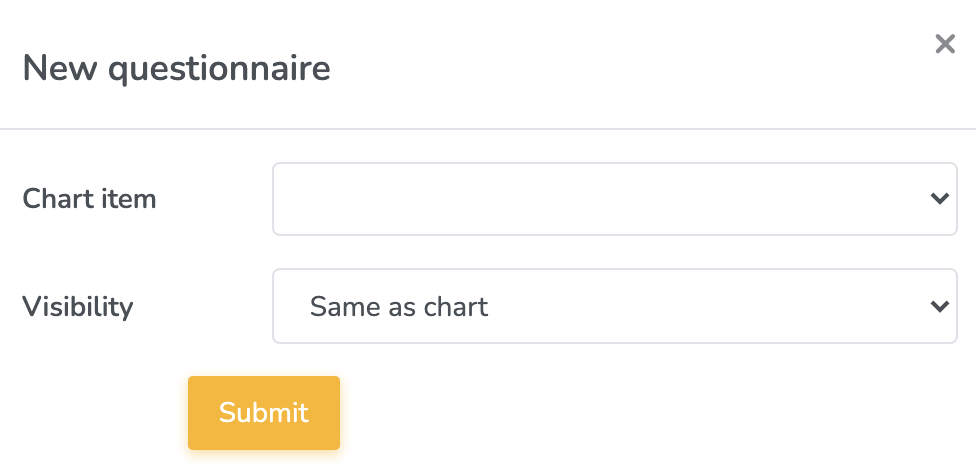
Select the chart item you want to add and its visibility and click on Submit:

This will add the chart item to the chart entry where you will be able to fill it out:
